That persistent squeak from your lawn tractor? It's likely a worn drive belt. This guide provides a step-by-step approach to replacing it yourself—saving you time and money. We'll cover tool selection, safety procedures, and common troubleshooting issues, making this project manageable even for first-timers. Remember safety is paramount! For more detailed instructions on specific John Deere models, see this helpful guide: John Deere guide.
Gathering Your Tools and Parts
Before you begin, gather the necessary tools and parts. Having everything ready significantly streamlines the process. You'll need:
- Socket wrench set: Various sizes will likely be needed.
- Screwdrivers: Both Phillips and flathead.
- Pliers: Needle-nose pliers are particularly useful.
- Wrench: May be required for removing mower blades (check your owner's manual).
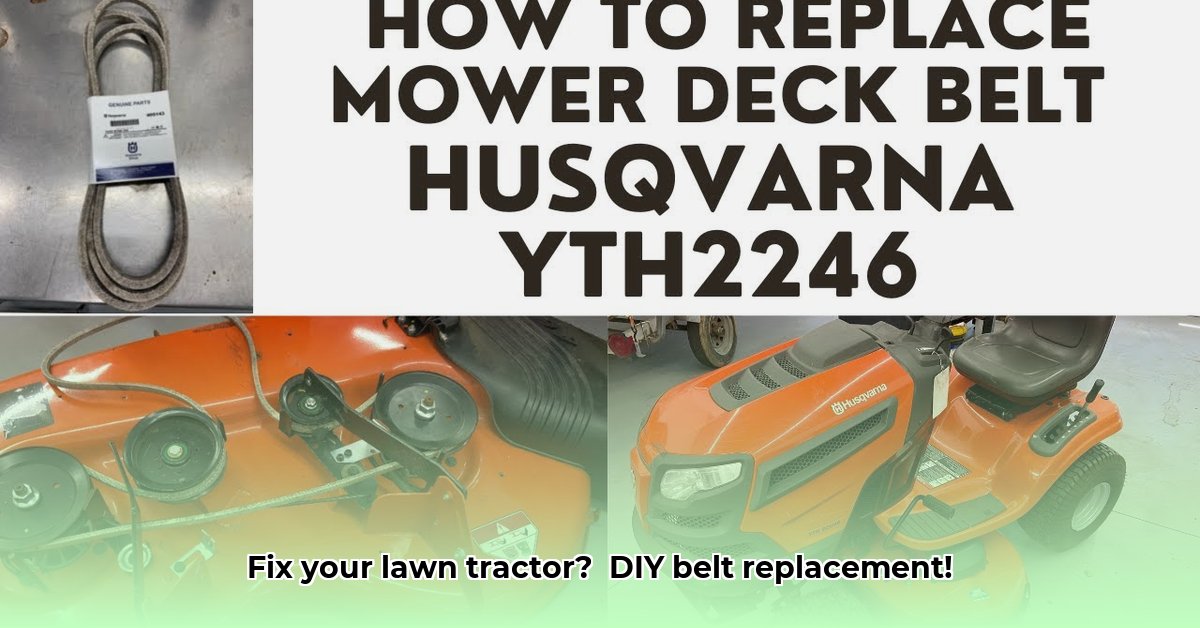
- New lawn tractor belt: Crucially, ensure this matches the specifications in your owner's manual. Using the wrong belt can result in damage.
- Safety glasses: Essential for eye protection.
- Work gloves: Protect your hands from sharp edges and potential abrasions.
- (Optional, but recommended) Torque wrench: Precisely tightens bolts, preventing damage.
- (Optional) Spring puller: Facilitates belt removal and installation on some models, but not always necessary.
Prioritizing Safety: Essential Precautions
Safety is non-negotiable. Before you start, observe these critical safety steps:
- Disconnect the spark plug wire: This prevents accidental starting. Locate the wire (typically a thick, high-voltage cable connected to the spark plug on the engine). Carefully pull it straight off; don't force it. Gently wiggle if it's stuck. Secure the wire away from the spark plug to prevent accidental contact.
- Engage the parking brake: This prevents any unintended movement of the lawn tractor.
- Wear safety glasses and work gloves: Protect your eyes and hands from potential hazards. This is absolutely essential.
Step-by-Step Belt Replacement Instructions
The specific steps might vary slightly based on your lawn tractor model. Always refer to your owner's manual for model-specific instructions and diagrams. Taking photos before disassembly significantly aids reassembly.
- Locate the Belt: Find the belt; this often means accessing the underside of the mower deck or removing panels. Your owner's manual will precisely pinpoint its location.
- Release Belt Tension: Most tractors have a tensioner pulley or lever. Use the appropriate wrench or tool to loosen it, simplifying belt removal.
- Remove the Old Belt: Carefully guide the old belt off the pulleys. Note its routing – it's crucial for correct reinstallation.
- Install the New Belt: Carefully position the new belt onto the pulleys, following the same path as the old one. Double-check your work against any photos you took.
- Re-tension the Belt: Use the tensioner to tighten the new belt to the correct tension. Refer to your owner's manual for precise specifications; an overly tight belt strains components, while a loose one slips.
- Reassemble: Carefully reassemble all components, ensuring all screws, bolts, and panels are securely fastened.
- Test Run: Start the tractor and listen carefully. Any unusual noises indicate a potential issue needing further investigation.
Troubleshooting Common Issues
- Belt slipping: This often means insufficient tension or worn pulleys. Recheck belt tension and inspect pulleys for any damage or wear.
- Rapid belt failure: An incorrect belt size or low-quality replacement is the usual cause. Always use a manufacturer-recommended belt.
DIY vs. Professional Repair: A Comparison
Choosing between a DIY approach and professional service involves weighing benefits and drawbacks.
| DIY Pros | DIY Cons | Professional Pros | Professional Cons |
|---|---|---|---|
| Cost savings | Requires mechanical aptitude and tools. | Guaranteed correct installation | Higher cost |
| Personal satisfaction | Risk of incorrect installation and further damage. | Expertise and specialized tools | Potential scheduling delays |
| Increased understanding of your lawn tractor | Time commitment | Quicker repair time | Higher expense |
This guide provides general instructions. Consult your owner's manual for model-specific guidance. If you encounter any difficulties or feel unsure about any steps, seek help from a qualified mechanic. A smoothly functioning lawn tractor ensures a productive and enjoyable gardening season.